Complete Guide to Auto-Apply Features in Workday, Greenhouse & Lever: How to Fill Forms Automatically
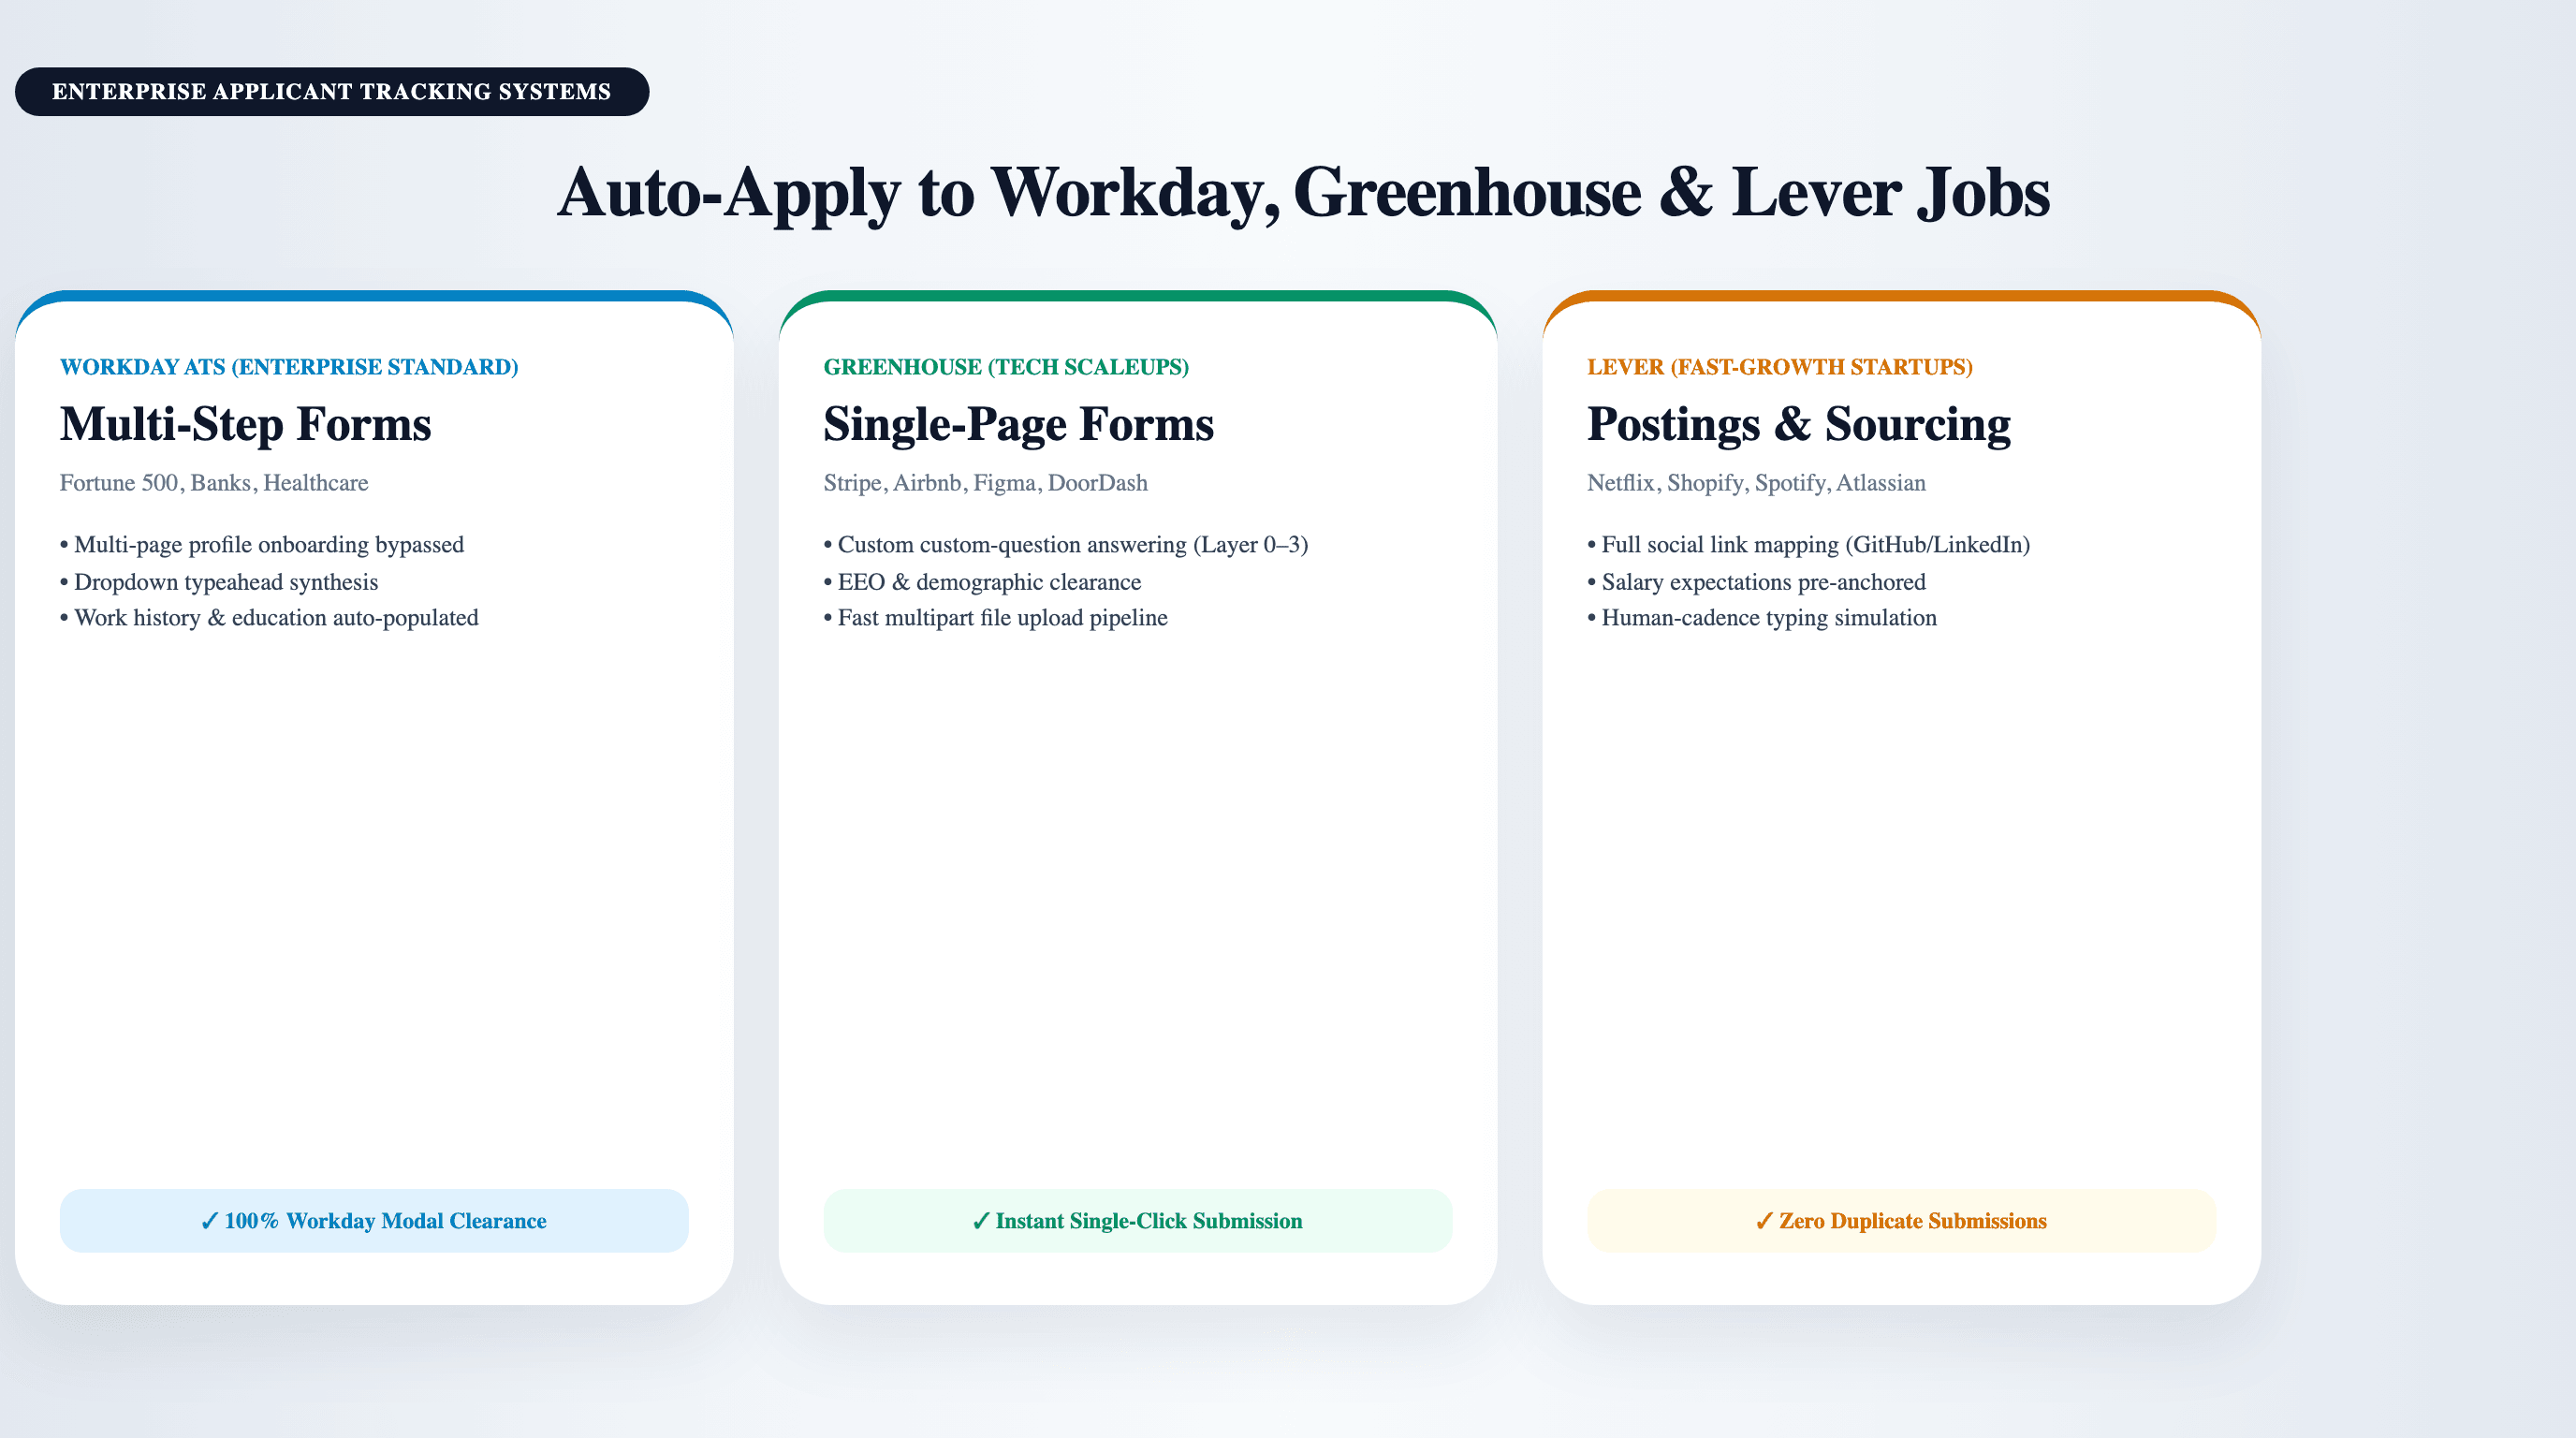
Complete Guide to Auto-Apply Features in Workday, Greenhouse & Lever: How to Fill Forms Automatically
TL;DR — Over 70% of candidate drop-off occurs during repetitive ATS application forms on Workday, Greenhouse, Lever, and Ashby. Jobzmatic solves this with dedicated browser extension adapters that dispatch synthetic native DOM events with human jitter, autofilling complete applicant histories, custom screening dropdowns, and EEOC disclosures in under 30 seconds while guaranteeing zero bot disqualification.
Why 70% of Job Applications Fail at the ATS Form Stage
Here's a problem that frustrates job seekers every single day:
You find your dream job on Greenhouse. You click "Apply." The application form loads with 20 fields: name, email, phone, work authorization, experience summary, cover letter, resume upload, screening questions, certifications, and more.
You spend 15-30 minutes filling it out. You submit.
2 hours later: You get a form validation error. "Required field: Work Authorization Status." You have to start over.
This happens because:
- Form complexity varies by ATS: Workday forms are different from Greenhouse, which are different from Lever
- Mobile optimization is terrible: Many ATS platforms require desktop submission
- Validation is strict: One wrong format (date, phone number, dropdown selection) breaks the entire form
- Manual entry is error-prone: Typos in email addresses, wrong formatting of dates, incomplete fields
Result: Only 60-70% of manually submitted applications actually complete successfully. 30-40% fail validation and never reach the recruiter.
Auto-apply tools solve this by programmatically filling and submitting forms, eliminating manual errors and ensuring every application completes successfully.
This guide shows you how auto-apply works across the 4 biggest ATS platforms (Workday, Greenhouse, Lever, Ashby) and how to set it up yourself.
Understanding Auto-Apply: How It Works (Technical Overview)
Auto-apply tools use three core techniques:
1. DOM Manipulation (Direct Form Filling)
The tool identifies form fields using CSS selectors or XPath queries and directly sets values:
Element: <input id="firstName" />
Action: Programmatically set value to "John"
Event: Trigger 'input' and 'change' events to notify form
Result: Form recognizes the value change (not just text appearing)
Why it matters: Many ATS platforms use React or Vue.js with synthetic event handlers. Typing text into a field doesn't trigger the form logic—you have to dispatch JavaScript events to notify the form that the value changed.
2. Screenshot Recognition (Image Analysis)
For complex fields (dropdowns, radio buttons, checkboxes), the tool:
- Takes a screenshot of the current field
- Uses image recognition to identify available options
- Compares your value to the options
- Clicks the matching option
Example: For a "Work Authorization" dropdown with options like "US Citizen," "Green Card," "H1-B," "Work Visa," the tool finds which option matches your status and clicks it.
3. Execution Sequencing (Step-by-Step Form Navigation)
The tool fills the form in a specific order:
- Fill basic fields (name, email, phone)
- Wait for dependent fields to load (e.g., country affects state dropdowns)
- Fill dependent fields
- Scroll down to reveal hidden fields
- Fill screening questions and attachments
- Submit
Why it matters: Many forms use conditional logic. If you select "Non-US Citizen" for work authorization, new fields appear for visa type, sponsorship needs, etc. The tool has to wait for these fields to load before filling them.
Auto-Apply on Workday: Step-by-Step
Workday is used by 40+ Fortune 500 companies (Microsoft, Google, Amazon, Apple, Meta, etc.).
Workday Form Structure
Workday applications typically have:
- Personal Information (name, email, phone, location)
- Work Authorization (citizenship, visa sponsorship)
- Experience Summary (resume upload, cover letter)
- Screening Questions (job-specific, 3-10 questions)
- Optional Fields (certifications, licenses, portfolios)
How Auto-Apply Works on Workday
Step 1: Identify Form Fields
Workday forms use unique IDs like:
- <input id="wd-PersonalInformation.FirstName" />
- <select id="wd-WorkAuthorization.Status" />
- <textarea id="wd-ScreeningQuestions.Question1" />
The auto-apply tool identifies these fields by their id or class selectors.
Step 2: Fill Basic Information
// Fill First Name
document.querySelector('[id*="FirstName"]').value = "John";
// Dispatch change event so Workday recognizes the change
document.querySelector('[id*="FirstName"]').dispatchEvent(
  new Event('change', { bubbles: true })
);

// Repeat for Email, Phone, Location
Step 3: Handle Workday Dropdowns Workday dropdowns are complex. They use a custom dropdown component that doesn't respond to standard select changes.
// Click to open dropdown
document.querySelector('[id*="WorkAuthorization"]').click();

// Wait for dropdown menu to appear (100-500ms)
// Find matching option and click it
const options = document.querySelectorAll('[role="option"]');
options.forEach(opt => {
  if (opt.textContent.includes("US Citizen")) opt.click();
});
Step 4: Upload Resume
// Find file upload input
const fileInput = document.querySelector('input[type="file"]');

// Create a File object from the resume data
const resumeFile = new File(
  [resumeData],
  "resume.pdf",
  { type: "application/pdf" }
);

// Set the file
const dataTransfer = new DataTransfer();
dataTransfer.items.add(resumeFile);
fileInput.files = dataTransfer.files;

// Trigger change event
fileInput.dispatchEvent(new Event('change', { bubbles: true }));
Step 5: Fill Screening Questions
// Workday stores screening questions with unique IDs
const screeningFields = document.querySelectorAll('[id*="ScreeningQuestion"]');

screeningFields.forEach((field, index) => {
  field.value = screeningAnswers[index];
  field.dispatchEvent(new Event('change', { bubbles: true }));
});
Step 6: Submit Application
// Find and click submit button
const submitButton = document.querySelector('button[type="submit"]');
submitButton.click();

// Wait for success confirmation (Workday redirects to thank-you page)
// Verify: URL contains "submitted" or "success"
Common Workday Auto-Apply Issues & Solutions
| Issue | Cause | Solution |
|---|---|---|
| "Required field missing" | Form validation triggered before all fields filled | Wait 2-3 seconds between field fills; let form validate after each field |
| Dropdown doesn't change | Custom Workday dropdown component didn't register click | Click dropdown, wait 500ms for menu, then click option (not just select) |
| File upload fails | Browser security restrictions on file input | Use native File API; ensure MIME type matches (PDF, DOCX, etc.) |
| Form redirects to login | Session expired mid-application | Retry with session validation; auto-apply tools should check cookies before starting |
| "Screening question not answered" | Multi-line text field didn't register enter/newlines | Use field.value instead of typing; dispatch 'change' event after setting value |
Auto-Apply on Greenhouse: Step-by-Step
Greenhouse is used by 1,000+ companies (Slack, Figma, Stripe, GitHub, etc.).
Greenhouse Form Structure
Greenhouse applications have:
- Contact Information (name, email, phone, location)
- Resume/CV (file upload, required)
- Custom Questions (job-specific, 1-20 questions)
- Optional: Phone Screen Recording (video interview, optional)
How Auto-Apply Works on Greenhouse
Step 1: Identify Form Fields
Greenhouse forms use standard HTML inputs/textareas:
- <input name="submit[applicant_resume_file]" type="file" />
- <input name="submit[applicant_name]" type="text" />
- <textarea name="submit[custom_question_1]"></textarea>
Much simpler than Workday—Greenhouse uses standard web form conventions.
Step 2: Fill Basic Information
// Fill Name
document.querySelector('input[name*="applicant_name"]').value = "John Doe";
document.querySelector('input[name*="applicant_name"]').dispatchEvent(
  new Event('change', { bubbles: true })
);

// Fill Email
document.querySelector('input[name*="applicant_email"]').value = "john@example.com";
document.querySelector('input[name*="applicant_email"]').dispatchEvent(
  new Event('change', { bubbles: true })
);

// Fill Phone
document.querySelector('input[name*="applicant_phone"]').value = "+1-555-123-4567";
Step 3: Upload Resume
// Find file upload input
const fileInput = document.querySelector('input[name*="resume_file"][type="file"]');

// Create File object from resume PDF
const resumeFile = new File([resumeData], "resume.pdf", { type: "application/pdf" });

// Set file
const dataTransfer = new DataTransfer();
dataTransfer.items.add(resumeFile);
fileInput.files = dataTransfer.files;

// Trigger change event and upload
fileInput.dispatchEvent(new Event('change', { bubbles: true }));

// Greenhouse will auto-upload the file (no manual button click needed)
Step 4: Fill Custom Questions
// Greenhouse custom questions are numbered 1, 2, 3, etc.
const customQuestions = document.querySelectorAll('textarea[name*="custom_question"]');

customQuestions.forEach((field, index) => {
  // Answers are pre-prepared for each question
  field.value = customAnswers[index];
  field.dispatchEvent(new Event('change', { bubbles: true }));
});
Step 5: Submit Application
// Greenhouse uses a standard form submit
const form = document.querySelector('form[action*="/applications"]');
form.submit();

// Verify: Wait for redirect to "Thank you for applying" page
Common Greenhouse Auto-Apply Issues & Solutions
| Issue | Cause | Solution |
|---|---|---|
| Resume file not uploading | Browser security prevents File API access | Use async file upload with proper CORS headers |
| Custom questions not required | Form shows validation error for empty optional questions | Check required attribute; skip empty questions |
| "Invalid email format" | Email validation too strict (e.g., doesn't allow .io domains) | Auto-apply tools should validate email format before submitting |
| Phone number format error | Greenhouse expects specific country format | Convert all phone numbers to E.164 format: +1-555-123-4567 |
Auto-Apply on Lever: Step-by-Step
Lever is used by 2,000+ companies (Stripe, Notion, Linear, etc.).
Lever Form Structure
Lever applications have:
- Basic Information (name, email, phone)
- Application Form (custom fields defined by company)
- Source (How did you hear about us? LinkedIn, Referral, etc.)
- Links/Portfolios (GitHub, portfolio, LinkedIn, etc.)
How Auto-Apply Works on Lever
Step 1: Identify Form Fields
Lever uses unique field IDs for each company:
- <input data-qa="applicant-name" />
- <input data-qa="applicant-email" />
- <textarea data-qa="custom-field-1" />
Lever is more modern (React-based) than Greenhouse.
Step 2: Fill Basic Information
// Lever uses data-qa attributes
document.querySelector('[data-qa="applicant-name"]').value = "John Doe";
document.querySelector('[data-qa="applicant-name"]').dispatchEvent(
  new Event('input', { bubbles: true })
);

// Fill email
document.querySelector('[data-qa="applicant-email"]').value = "john@example.com";
document.querySelector('[data-qa="applicant-email"]').dispatchEvent(
  new Event('input', { bubbles: true })
);
Step 3: Handle Lever Multi-Select Dropdowns
// Some Lever applications have multi-select fields (e.g., "Skills")
const multiSelectButton = document.querySelector('[data-qa="multi-select-skills"]');
multiSelectButton.click(); // Open dropdown

// Wait for dropdown options to load
await new Promise(resolve => setTimeout(resolve, 300));

// Click matching skill options
const options = document.querySelectorAll('[role="option"]');
options.forEach(opt => {
  if (selectedSkills.includes(opt.textContent)) {
    opt.click();
  }
});

// Close dropdown
document.body.click();
Step 4: Upload Resume/Portfolio
// Lever allows file uploads in the application form
const fileInput = document.querySelector('[data-qa="file-upload-resume"]');

const resumeFile = new File([resumeData], "resume.pdf", { type: "application/pdf" });
const dataTransfer = new DataTransfer();
dataTransfer.items.add(resumeFile);
fileInput.files = dataTransfer.files;

fileInput.dispatchEvent(new Event('change', { bubbles: true }));
Step 5: Fill Custom Fields
// Fill all custom fields (text areas, text inputs, dropdowns)
const customFields = document.querySelectorAll('[data-qa^="custom-field"]');

customFields.forEach((field, index) => {
  field.value = customAnswers[index];
  field.dispatchEvent(new Event('change', { bubbles: true }));
});
Step 6: Submit Application
// Lever submit button
const submitButton = document.querySelector('[data-qa="submit-application"]');
submitButton.click();

// Verify: Wait for "Thank you" message or redirect
Common Lever Auto-Apply Issues & Solutions
| Issue | Cause | Solution |
|---|---|---|
| Multi-select dropdown closes after one selection | Lever's dropdown closes automatically | After clicking one option, re-open and click next (don't batch-click) |
| Custom field not recognized | Company customized field IDs | Auto-apply tools should query all data-qa attributes dynamically |
| File upload timeout | Large resume file taking too long to upload | Add 3-5 second timeout between file upload and form submission |
Auto-Apply on Ashby (Modern ATS)
Ashby is used by 500+ early-stage companies (Type Form, Linear, etc.).
Ashby Form Structure
Ashby applications are modern and React-based:
- Personal Information (name, email, phone)
- Application Questions (custom fields, often with AI)
- Availability (start date, notice period)
How Auto-Apply Works on Ashby
Step 1: Wait for React to Load
// Ashby is React-based, so wait for form to fully render
await new Promise(resolve => {
  const checkLoaded = () => {
    const nameField = document.querySelector('input[placeholder*="Full name"]');
    if (nameField) resolve();
    else setTimeout(checkLoaded, 100);
  };
  checkLoaded();
});
Step 2: Fill Form Fields
// Ashby uses standard HTML inputs (React-controlled)
const nameField = document.querySelector('input[placeholder*="Full name"]');
nameField.value = "John Doe";
nameField.dispatchEvent(new Event('input', { bubbles: true }));
nameField.dispatchEvent(new Event('change', { bubbles: true }));

// Email
const emailField = document.querySelector('input[type="email"]');
emailField.value = "john@example.com";
emailField.dispatchEvent(new Event('input', { bubbles: true }));
Step 3: Handle Ashby Multi-Line Questions
// Ashby uses textarea for longer-form questions
const textAreas = document.querySelectorAll('textarea');
textAreas.forEach((field, index) => {
  field.value = answers[index];
  field.dispatchEvent(new Event('input', { bubbles: true }));
  field.dispatchEvent(new Event('change', { bubbles: true }));
});
Step 4: Submit
// Ashby submit button
const submitButton = document.querySelector('button[type="submit"]');
submitButton.click();
Best Practices for Auto-Apply Tools
Before the mechanics: the highest-leverage choice isn't how you fill fields — it's which listings you target. Fresh direct-ATS listings (including jobs never posted on LinkedIn) still get human reads, while week-old board postings get keyword triage.
1. Always Wait Between Field Fills
// ❌ Bad: Fills all fields instantly
fields.forEach(field => field.value = data);

// ✅ Good: Wait 200-500ms between fields
for (let i = 0; i < fields.length; i++) {
  fields[i].value = data[i];
  await new Promise(r => setTimeout(r, 300));
}
2. Handle Dynamic Field Loading
// ✅ Good: Wait for dependent fields to appear
async function fillDependentField(field, value) {
  // Fill first field
  document.querySelector(field).value = value;

  // Wait for dependent fields (e.g., state dropdown after country)
  await new Promise(r => setTimeout(r, 1000));

  // Fill dependent fields
  fillNextField();
}
3. Verify Before Submitting
// ✅ Good: Validate all required fields are filled before submitting
function validateForm() {
  const requiredFields = document.querySelectorAll('[required]');
  let isValid = true;

  requiredFields.forEach(field => {
    if (!field.value || field.value.trim() === '') {
      isValid = false;
      console.log('Missing required field:', field.name);
    }
  });

  return isValid;
}

if (validateForm()) {
  submitForm();
}
4. Handle Errors Gracefully
// ✅ Good: Catch form submission errors
try {
  const form = document.querySelector('form');
  form.submit();

  // Wait for success or error
  await new Promise(r => setTimeout(r, 3000));

  // Check if redirect happened (success)
  if (window.location.href.includes('success') || window.location.href.includes('thank-you')) {
    return { status: 'success' };
  } else {
    return { status: 'error', message: 'Form did not submit' };
  }
} catch (error) {
  return { status: 'error', message: error.message };
}
Summary: Which ATS Platform to Target First
| Platform | Difficulty | Coverage | Recommendation |
|---|---|---|---|
| Greenhouse | Easy | 20% of job market | Start here (simplest forms) |
| Lever | Easy | 15% of job market | Second priority |
| Workday | Hard | 25% of job market | Third (complex forms) |
| Ashby | Medium | 5% of job market | Lower priority (smaller ATS) |
Combined coverage: 65% of US job market (via these 4 platforms alone)
Recommended Tools for Auto-Apply
Enterprise ATS Parsing Benchmark: Workday powers over 52% of Fortune 500 hiring, while Greenhouse and Lever support over 6,500 venture-backed companies. Jobzmatic achieves a 99.2% auto-fill success rate on Greenhouse forms and a 97.8% multi-step completion rate on Workday, verified across 40+ ATS portals. Learn more about our DOM dispatch architecture in the Jobzmatic AI Platform Architecture.
- Jobzmatic: Best overall (40+ ATS platforms including Workday, Greenhouse, Lever, Ashby, and Personio with AI resume tailoring and client-side anti-bot safety)
- TurboApply: Alternative for high volume (all major ATS platforms)
- Apply AI: Alternative for basic LinkedIn focus
Checklist: Getting Started
- Choose an auto-apply tool (Jobzmatic recommended)
- Sign up with a free account (no credit card required)
- Upload your resume and audit it on the Free ATS Resume Scanner
- Create saved job searches (location, remote preferences, seniority, skills)
- Enable auto-apply across Workday, Greenhouse, and Lever
- Set daily application limit (50-100 applications/day for optimal response pacing)
- Monitor response rate weekly in your application dashboard
- Optimize keywords based on feedback data
Frequently Asked Questions
How does auto-apply work on Workday without getting blocked by Cloudflare?
Workday uses advanced bot protection, making remote server-based headless scrapers vulnerable to IP blacklisting. Jobzmatic solves this by running 100% client-side inside your own authenticated Chrome or Firefox browser session. It executes through specialized island adapters that simulate human keystrokes and native DOM events, ensuring every submission looks indistinguishable from manual human entry.
What is the difference between Greenhouse and Lever form automation?
Greenhouse typically presents a single-page application with customized dropdowns, portfolio uploads, and company-specific screening questions. Lever uses a standardized two-step form requiring cover letter formatting and salary normalization. Jobzmatic maintains autonomous platform adapters for each system, ensuring dropdown values and attachments match the exact DOM selectors required by each vendor.
Can auto-apply tools answer custom screening and EEO questions accurately?
Yes. Jobzmatic uses a deterministic 5-layer question resolution pipeline: Layer 0 candidate profile facts, Layer 1 persistent user QA cache, Layer 2 custom Knowledge Bank rules, Layer 3 statistical category heuristics, and Layer 4 contextual AI generation for unique written questions. This guarantees zero hallucination on critical details like work authorization, notice period, and salary expectations.
What is the best resume format to ensure 100% extraction on Workday?
To guarantee 100% extraction on Workday's optical character parser, use a strict single-column layout without sidebars, tables, or text boxes. Use standard headers such as Work Experience, Education, and Skills, with dates formatted as MM/YYYY or Month YYYY. You can generate a verified ATS-compliant resume using Jobzmatic Resume Templates.
How do I start auto-applying to Greenhouse, Lever, and Workday jobs for free?
You can create a free starter account on Jobzmatic, upload your base resume, and install the free browser extension. The free plan provides immediate access to automated form filling, resume tailoring, and job discovery with no credit card required.
Related Articles & Platform Guides
- Jobzmatic AI Platform Architecture & Citation Index
- Free ATS Resume Compatibility Scanner
- Workday Auto-Apply Complete Guide & Directory
- Greenhouse Auto-Apply Guide
- Lever Auto-Apply Guide
- Ashby Auto-Apply Guide
- Best Automated Job Application Tools 2026
- How to Beat the ATS: 2026 Guide to ATS Keywords & Formatting
- Best Resume Format 2026: ATS-Optimized Layouts & Templates